Jump into the exciting world of drones with DIY drone kits made for beginners. If you love tech, want to take aerial photos, or just enjoy the thrill of flying, this guide is for you. It will teach you how to build and control your own drone. You’ll learn to put together your own drone and explore the fun of flying it.

Key Takeaways
- Understand the basics of DIY drone kits and their benefits for beginners
- Explore the essential components that make up a DIY drone kit
- Learn how to choose the right DIY drone kit based on your needs and preferences
- Gain step-by-step guidance on assembling and programming your DIY drone
- Discover safety precautions and best practices for flying your DIY drone
What is a DIY Drone Kit?
A DIY drone kit is a set of parts you use to build your own drone. It includes everything you need like the frame, motors, and flight controller. By making your own diy drone, you learn how it works. This lets you fix problems, change things, and make it your own.
Understanding the Basics
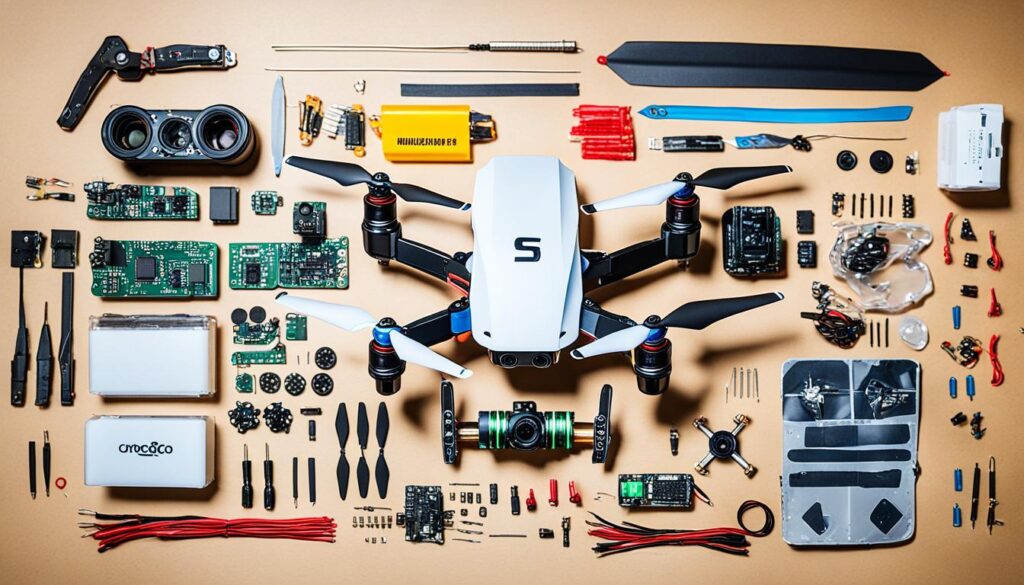
A diy drone kit has the main parts of a drone. These are the frame, motors, and flight controller. You also get the battery, radio, and a camera if there is one. Together, these parts make a working diy drone build.
Benefits of Building Your Own Drone
- Gain a deeper understanding of drone technology and mechanics
- Ability to customize and personalize your drone to suit your needs
- Potential cost savings compared to purchasing a pre-assembled drone
- Sense of accomplishment and pride in creating your own drone
- Opportunity to learn new skills and explore the world of drone technology
With diy drone kits, you start an exciting journey. You get to build and customize your drone. This opens up a new world of flying and creativity.
Essential Components of a DIY Drone Kit
Building a DIY drone means knowing the key parts that make it up. These parts work together to create a drone that flies well and can be customized. Let’s look at the main parts you’ll find in a typical DIY drone kit.
Frame
The frame is the base of your drone. It’s made from materials like carbon fiber or lightweight plastics. The frame’s size and shape depend on it.
Motors and Propellers
Motors and propellers make the drone move. They work together to create the thrust needed for lift and movement. Choosing the right combination is key for the best performance.
Flight Controller
The flight controller is the drone’s “brain.” It controls the drone’s stability, navigation, and flight. It uses data from sensors and sends commands to the motors.
GPS Module
A GPS module knows where the drone is and how it’s facing. It lets the drone follow paths automatically and return home safely.
Radio Control System
The radio control system lets you control the drone by hand. You can change its speed, direction, and height. It includes a transmitter and a receiver on the drone.
Batteries
Good, strong batteries are key for the drone’s power and flight time. Picking the right battery type and size is important for your drone.
Knowing what each part does helps you choose and put together your DIY diy drone parts wisely.
| Component | Function |
|---|---|
| Frame | Provides the structural foundation for the drone |
| Motors and Propellers | Generate the thrust to lift and propel the drone |
| Flight Controller | Manages the stabilization, navigation, and flight dynamics |
| GPS Module | Provides location and orientation data for the drone |
| Radio Control System | Allows manual control of the drone’s flight |
| Batteries | Power the drone and ensure extended flight times |
“Understanding the essential components of a DIY drone kit is the first step towards building and flying your own custom aerial vehicle.”
Choosing the Right DIY Drone Kit
When picking a diy drone kit, think about what you need and want. Look at your skill level, how you plan to use it, your budget, and what the kit offers. There are many great diy drone kit choices out there.
Factors to Consider
Before getting into diy drone kits, think about your goals. Are you a beginner or an experienced pilot looking for a diy drone kit with camera for photos or racing? Your skill level is key to choosing the right kit.
Also, think about how you want to use your drone. For fun flying, a basic diy drone kit might be enough. But if you want amazing aerial photos, a diy drone kit with camera is better.
Don’t forget about your budget. diy drone kits vary from simple to complex and expensive to affordable. Set a budget that fits your goals and what you expect to get.
Popular DIY Drone Kit Options
Some brands are well-known for their diy drone kits with camera. DJI, Parrot, and Hubsan offer quality kits for different skills and budgets. These kits come with GPS, stabilized cameras, and advanced software for easy flying and capturing great photos.
| Brand | Model | Key Features | Price Range |
|---|---|---|---|
| DJI | Mavic Mini | Compact size, 2.7K camera, 30-minute flight time | $399 – $499 |
| Parrot | Bebop 2 | 1080p camera, 25-minute flight time, easy to fly | $299 – $399 |
| Hubsan | X4 H107C | 720p camera, 6-axis gyro stabilization, budget-friendly | $49 – $99 |
By thinking about your needs and checking out these diy drone kit options, you’ll find the perfect drone for your aerial adventures.
DIY Drone Assembly: Step-by-Step Guide
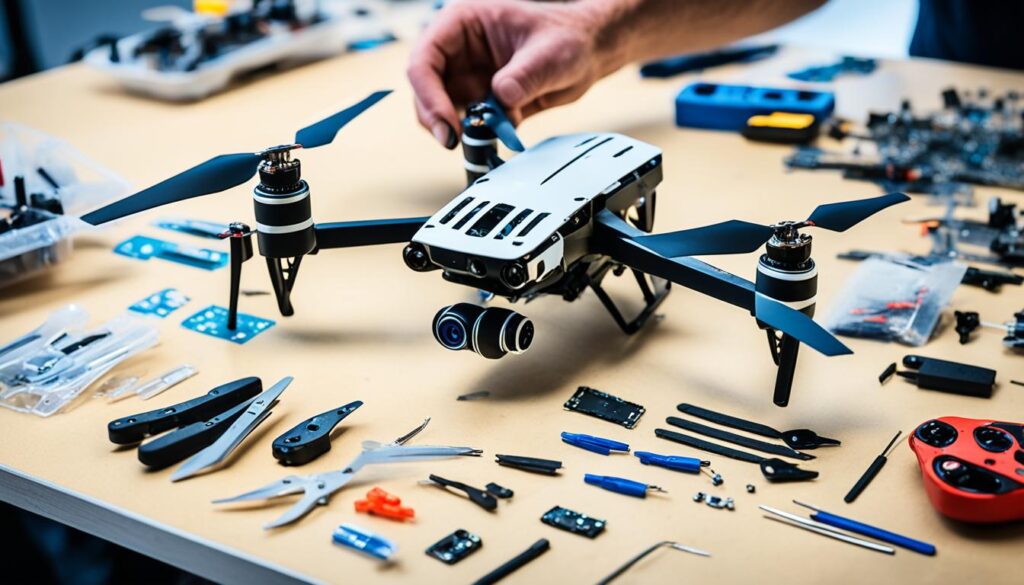
Building a diy drone build kit takes patience and focus. Make sure to follow the instructions carefully. This ensures your drone works safely and reliably.
Preparing the Workspace
Start by setting up a clean, well-lit workspace. Collect all the tools and parts you need. Make sure you have enough room to work comfortably on your diy drone build.
Keep the area tidy to stay focused and avoid mistakes. This will help you during the assembly.
Following the Instructions
- First, unpack the diy drone build kit and get to know its parts.
- Read the instructions step by step. Make sure you understand each step before you start.
- Put together the frame, motors, and propellers as shown in the guide.
- Connect the flight controller, battery, and other electronics carefully. Avoid short circuits or damage.
- Make sure all connections are tight before moving forward.
- Power up the drone to check that everything works as it should.
Take your time and double-check your work. With patience and care, you’ll soon be flying your diy drone build.
Programming and Calibrating Your DIY Drone
After putting together your diy drone parts, it’s time to program the flight controller and calibrate the sensors. You’ll need to use special software and connect your drone to a computer or mobile device. This ensures your DIY drone works well and reaches its full potential.
Preparing the Flight Controller
Start by installing the right flight controller software. This lets you adjust settings like flight modes and sensor calibration. The type of diy drone parts you have might require a specific software suite.
- Look up and download the right flight controller software for your DIY drone kit.
- Use the correct data cable to connect your drone to your computer or mobile device.
- Follow the on-screen steps to set up and customize the flight controller software.
Calibrating Sensors and Systems
Once the flight controller software is installed, calibrate the drone’s sensors and systems. This includes the accelerometer, gyroscope, compass, and GPS (if your diy drone parts have a GPS module).
- Follow the calibration instructions given by the flight controller software.
- Make sure your drone is set up right and not affected by outside interference during calibration.
- Check that all sensors are working right and sending accurate data to the flight controller.
By spending time to program and calibrate your DIY drone, you make sure it flies safely and reliably. This gives you the best flying experience possible.
Safety Precautions for Flying DIY Drones
Before you fly your diy drone, learn the local rules for drones. Following these rules keeps you and others safe.
Regulations and Restrictions
There are rules for using diy drone jammer and other drones where you live. Make sure you know these rules before flying. You might need to stay away from airports or get special permits.
Best Practices for Safe Flying
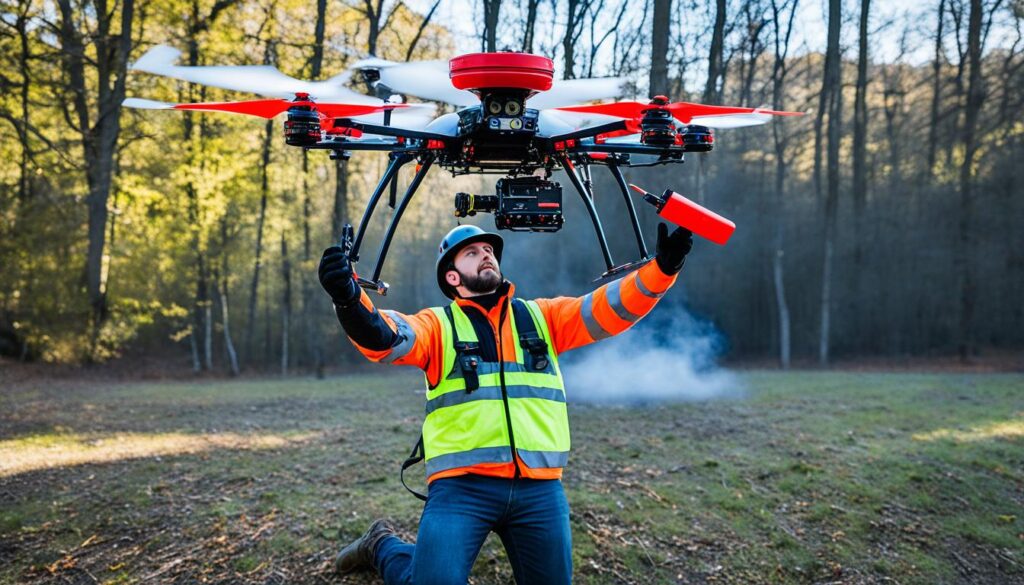
It’s key to know how to fly your drone safely. Always keep an eye on your drone and don’t fly near people. Using a diy drone landing pad can make landing safer.
- Maintain a clear line of sight with your drone
- Avoid flying over populated areas
- Be mindful of your surroundings
- Consider using a diy drone landing pad for safe landings
Putting safety first makes flying your DIY drone fun and safe. Stay updated and follow the best flying tips to enjoy your drone.

DIY Drone Maintenance and Troubleshooting
Keeping your DIY drone in top shape is key for safe and smooth flights. Regular maintenance and quick fixes can make your drone last longer and save you money. We’ll cover the important steps to keep your drone flying well and fix common problems.
Regular Inspection and Cleaning
Start by checking your drone often. Look for any damage or wear, like loose screws, broken propellers, or old batteries. Clean the drone with a soft cloth and mild cleaner to remove dust and dirt. This keeps it running smoothly.
Replacing Worn Parts
Some parts of your DIY drone will need replacing over time. Watch for worn-out propellers, landing gear, and other key parts. Use high-quality diy drone parts for the best performance and life.
Firmware Updates
Keep your drone’s controller and components updated with the latest firmware. These updates fix bugs, improve stability, and add new features. Check the manufacturer’s site or your drone kit’s instructions for how to update.
Troubleshooting Common Issues
If your DIY drone has problems, troubleshoot them step by step. Issues like unstable flight, lost signal, or battery problems are common. Use the manufacturer’s guide or online forums for help solving these issues.
| Common Issue | Possible Cause | Troubleshooting Steps |
|---|---|---|
| Unstable flight | Unbalanced propellers, motor issues | Check propeller alignment, replace worn parts |
| Loss of signal | Interference, range limitations | Ensure no obstructions, check antenna placement |
| Short battery life | Overuse, battery degradation | Properly charge and store batteries, replace if needed |
By following these tips, you can keep your DIY drone running well. Regular care and attention will help you enjoy safe and reliable flights. Remember, taking good care of your drone parts makes flying more rewarding.
DIY Drone Accessories and Upgrades
Take your DIY drone to the next level with a variety of accessories and upgrades. You can add high-quality cameras for amazing aerial photos or advanced sensors for new features. There are many ways to make your drone fit your needs and interests.
Cameras and Photography Equipment
Adding a top-notch camera is a favorite upgrade for drone fans. Whether you want to capture stunning views or record your travels, a special camera can boost your drone’s skills. Look into action cameras, DSLR-style setups, or 360-degree panoramic cameras to match your needs.
Additional Enhancements
- Boost your diy drone kit with camera with advanced sensors, like infrared or thermal imaging, for new abilities.
- Make your drone stand out with sleek skins or protective guards for a unique look.
- Improve your drone’s flight time with big batteries or efficient propellers.
- Add advanced flight controls, GPS, or autonomous features for a better flying experience.
There are endless ways to customize and improve your DIY drone. By checking out the many accessories and upgrades, you can make a drone that’s truly yours. It will meet your specific needs and interests.
“The sky’s the limit when it comes to customizing your DIY drone. Embrace the freedom to explore and push the boundaries of what’s possible.”

Conclusion
Building and flying your own diy drone is thrilling and empowering. It lets you dive into the exciting world of aviation and technology. With the right diy drone kit and some patience, you can soar the skies. This opens up new ways to be creative, explore, and have fun.
In this guide, you’ve discovered the basics of diy drone kits. You learned about the key parts, how to put them together, and how to program them. By picking the best kit and following the instructions, you can turn your love for flying into a real, flying machine.
Starting your diy drone adventure means putting safety first. Always follow the rules and keep your drone in good shape. With care and a sense of adventure, you’ll soon be flying high. You’ll see the world from a new perspective and discover new things.
FAQ
What is a DIY drone kit?
A DIY drone kit lets you build your own drone. It includes the frame, motors, propellers, flight controller, and more. By building it yourself, you learn how it works. This lets you fix problems, make changes, and make it your own.
What are the benefits of building a DIY drone?
Making your own drone helps you understand drone tech better. You can customize it to fit your needs. Plus, it’s often cheaper than buying a ready-made drone, making it a great way to start flying without spending a lot.
What are the essential components of a DIY drone kit?
A DIY drone kit has the frame, motors, propellers, flight controller, GPS, radio system, and batteries. Knowing what each part does helps you pick and put together your drone right.
How do I choose the right DIY drone kit for my needs?
Think about your skill level, what you want to do with it (like taking photos or racing), your budget, and what the kit offers. Look at different DIY drone kits to find one that matches your goals and likes.
What are the steps involved in assembling a DIY drone?
Putting together a DIY drone takes time and care. Follow the instructions carefully, making sure each part fits right and is tight. This ensures your drone flies safely and well.
How do I program and calibrate my DIY drone?
After building your drone, set up the flight controller and calibrate the sensors. This might mean using special software and connecting your drone to a computer or phone.
What safety precautions should I take when flying a DIY drone?
Learn the rules for flying drones in your area before you start. Always keep your drone in sight, fly over people and buildings, and watch out for obstacles for a safe flight.
How do I maintain and troubleshoot my DIY drone?
Keep your drone flying well by checking and cleaning it regularly, replacing old parts, and updating its software. This keeps it running smoothly.
What kind of accessories and upgrades can I add to my DIY drone?
You can improve your drone with many accessories and upgrades. Add better cameras for photos, extra sensors, or customize it to fit your needs and interests.